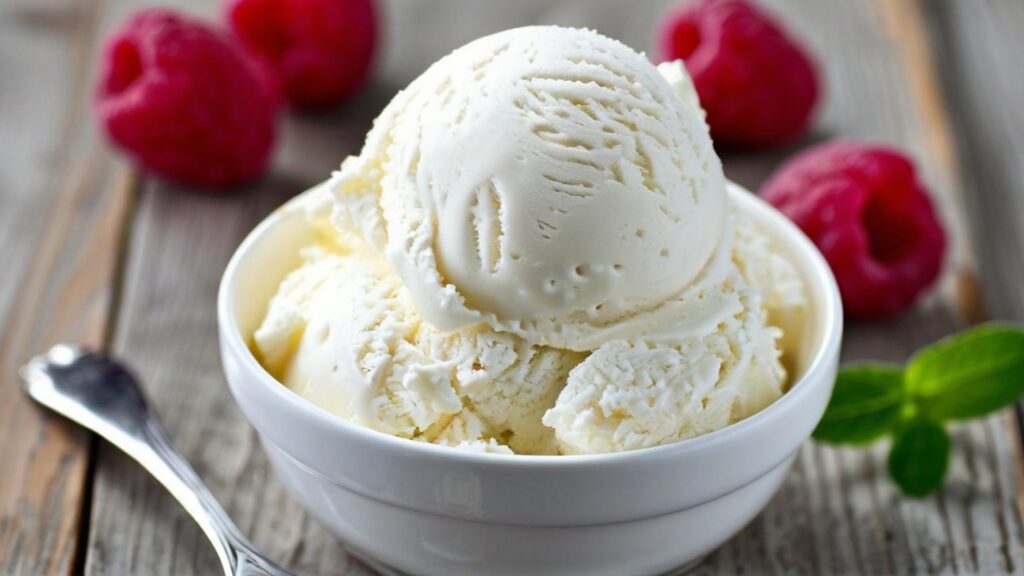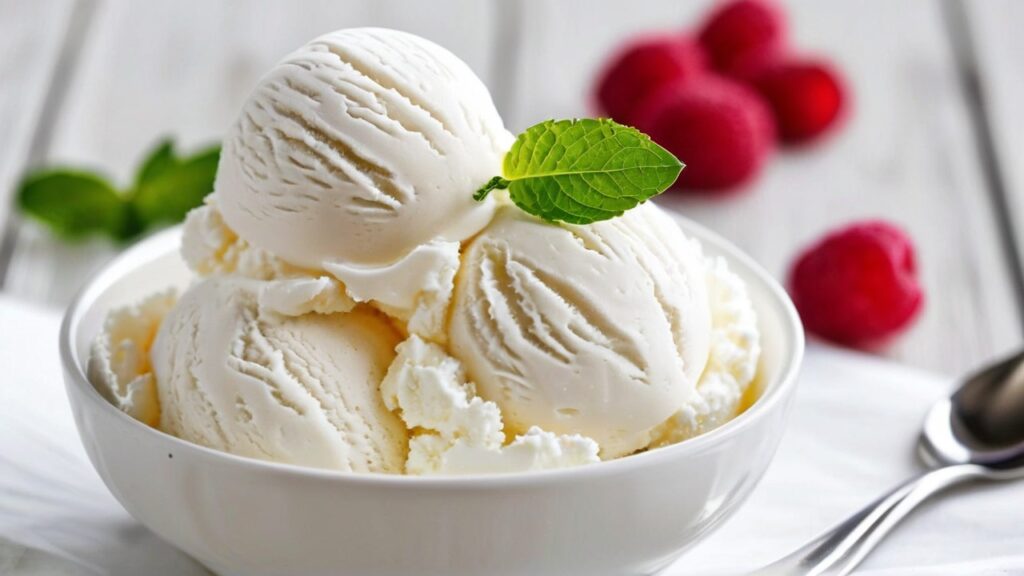
Summary: Discover the perfect guilt-free treat with this Cottage Cheese Ice Cream recipe! This creamy dessert combines the health benefits of cottage cheese with delightful flavors, making it a nutritious yet indulgent option for ice cream lovers. Whether you enjoy it as a refreshing summer dessert or a post-workout snack, this easy recipe is sure to impress.
Table of Contents
- Prep Time: 15 minutes
- Cook Time: 0 minutes
- Total Time: 15 minutes (plus freezing time)
- Servings: 4
- Calories: Approximately 150 calories per serving
- Course: Dessert
- Cuisine: American
Ingredients
For the Base:
- 2 cups cottage cheese (full-fat or low-fat)
- 1/2 cup Greek yogurt (plain)
- 1/2 cup honey or maple syrup (adjust to taste)
- 1 teaspoon vanilla extract
- A pinch of salt
For Flavor Variations:
- Chocolate: Add 1/4 cup unsweetened cocoa powder
- Fruit: Blend in 1 cup of your favorite fruits (e.g., strawberries, bananas, or mango)
- Nutty: Mix in 1/2 cup chopped nuts (e.g., almonds, walnuts)
Equipment
- Food processor or blender
- Mixing bowl
- Ice cream maker (optional, but recommended)
- Freezer-safe container
- Spatula
- Measuring cups and spoons

Instructions
Step 1: Prepare the Base
In a mixing bowl, combine the cottage cheese, Greek yogurt, honey (or maple syrup), vanilla extract, and a pinch of salt. Blend using a food processor or blender until the mixture is smooth and creamy. This will ensure that the cottage cheese’s texture is broken down, resulting in a silky ice cream base.
Step 2: Flavor It Up
At this point, you can add your preferred flavor variations. If you’re making chocolate ice cream, add the cocoa powder and blend until fully incorporated. For fruity variations, add your choice of fruit and blend until smooth. If you prefer a nutty flavor, fold in the chopped nuts by hand after blending.
Step 3: Chilling the Mixture
Once you’ve achieved your desired flavor, pour the mixture into a freezer-safe container. Cover it tightly with a lid or plastic wrap. Freeze for about 2 hours until it starts to firm up.
Step 4: Churn It (Optional)
If you have an ice cream maker, pour the chilled mixture into the ice cream maker and churn according to the manufacturer’s instructions. This process incorporates air into the mixture, making the ice cream lighter and fluffier.
Step 5: Final Freeze
Whether you used an ice cream maker or not, after churning, transfer the ice cream back to the freezer-safe container and freeze for an additional 4 hours or until fully set. If you find the ice cream too hard after freezing, let it sit at room temperature for a few minutes before serving.
Recipe Variations
- Berry Swirl: After blending the base, create a berry swirl by mixing in a fruit puree or jam before the final freeze.
- Mint Chocolate Chip: Add a few drops of mint extract and fold in chocolate chips for a refreshing twist.
- Peanut Butter Swirl: Mix in a few tablespoons of peanut butter for a rich and nutty flavor.

Frequently Asked Questions (FAQs)
1. Can I use non-fat cottage cheese?
Yes! Non-fat cottage cheese can be used, but it may result in a slightly less creamy texture.
2. How long can I store this ice cream?
Homemade cottage cheese ice cream can be stored in the freezer for up to 2 months. Make sure it’s tightly sealed to prevent freezer burn.
3. Can I make this recipe vegan?
Absolutely! Substitute cottage cheese and Greek yogurt with vegan alternatives such as silken tofu or coconut yogurt, and use agave syrup or maple syrup as a sweetener.
4. Is this ice cream healthy?
Yes! Cottage cheese ice cream is lower in sugar and calories compared to traditional ice cream, and it’s rich in protein and calcium.
Notes

- If you prefer a sweeter ice cream, feel free to adjust the sweetness level by adding more honey or syrup.
- For a smoother texture, ensure you blend the mixture thoroughly.
Nutritional Info (Per Serving)
- Calories: 150
- Protein: 12g
- Fat: 4g
- Carbohydrates: 18g
- Fiber: 1g
- Sugar: 10g

Conclusion
This Delicious Cottage Cheese Ice Cream recipe is a fantastic way to enjoy a creamy and nutritious dessert. With its simplicity and versatility, you can customize it to suit your taste preferences, making it a perfect treat for any occasion. Whether you opt for classic flavors or experiment with new combinations, this cottage cheese ice cream will delight your taste buds and satisfy your sweet cravings guilt-free!

Delicious Cottage Cheese Ice Cream: 5 Simple Steps to a Creamy Delight (Serves 4)
Equipment
- Food processor or blender
- Mixing bowl
- Ice cream maker (optional, but recommended)
- Freezer-safe container
- Spatula
- Measuring cups and spoons
Ingredients
- For the Base:
- 2 cups cottage cheese full-fat or low-fat
- 1/2 cup Greek yogurt plain
- 1/2 cup honey or maple syrup adjust to taste
- 1 teaspoon vanilla extract
- A pinch of salt
- For Flavor Variations:
- Chocolate: Add 1/4 cup unsweetened cocoa powder
- Fruit: Blend in 1 cup of your favorite fruits e.g., strawberries, bananas, or mango
- Nutty: Mix in 1/2 cup chopped nuts e.g., almonds, walnuts
Instructions
- Step 1: Prepare the Base
- In a mixing bowl, combine the cottage cheese, Greek yogurt, honey (or maple syrup), vanilla extract, and a pinch of salt. Blend using a food processor or blender until the mixture is smooth and creamy. This will ensure that the cottage cheese’s texture is broken down, resulting in a silky ice cream base.
- Step 2: Flavor It Up
- At this point, you can add your preferred flavor variations. If you’re making chocolate ice cream, add the cocoa powder and blend until fully incorporated. For fruity variations, add your choice of fruit and blend until smooth. If you prefer a nutty flavor, fold in the chopped nuts by hand after blending.
- Step 3: Chilling the Mixture
- Once you’ve achieved your desired flavor, pour the mixture into a freezer-safe container. Cover it tightly with a lid or plastic wrap. Freeze for about 2 hours until it starts to firm up.
- Step 4: Churn It (Optional)
- If you have an ice cream maker, pour the chilled mixture into the ice cream maker and churn according to the manufacturer’s instructions. This process incorporates air into the mixture, making the ice cream lighter and fluffier.
- Step 5: Final Freeze
- Whether you used an ice cream maker or not, after churning, transfer the ice cream back to the freezer-safe container and freeze for an additional 4 hours or until fully set. If you find the ice cream too hard after freezing, let it sit at room temperature for a few minutes before serving.
Notes
For a smoother texture, ensure you blend the mixture thoroughly.
Nutritional Info (Per Serving)
Calories: 150
Protein: 12g
Fat: 4g
Carbohydrates: 18g
Fiber: 1g
Sugar: 10g

